A new roof is not something most property owners buy often, which is exactly why the roof installation process can feel unclear at the start. If you are replacing an ageing roof, planning an extension, or managing work on a rental or commercial building, knowing what happens at each stage helps you avoid delays, hidden costs, and poor workmanship.
A good roofing job should never feel rushed or vague. You should know what is being installed, why it is suitable for the property, how long the work is likely to take, and what protections are in place while the job is underway. That matters even more in London, where access, neighbouring properties, weather, and building style can all affect the schedule.
What the roof installation process starts with
The first step is a site survey. This is where a roofer assesses the existing roof structure, checks access, measures the area, and looks for issues that could affect the installation. On older properties, that might include rotten timbers, poor ventilation, damaged underlay, or chimney and leadwork problems that need dealing with at the same time.
This stage is also where the right roofing system is matched to the building. Pitched roofs, flat roofs, garage roofs, bay roofs, and commercial roofs all have different requirements. Material choice is not just about appearance. Weight, drainage, insulation performance, maintenance needs, and expected lifespan all matter.
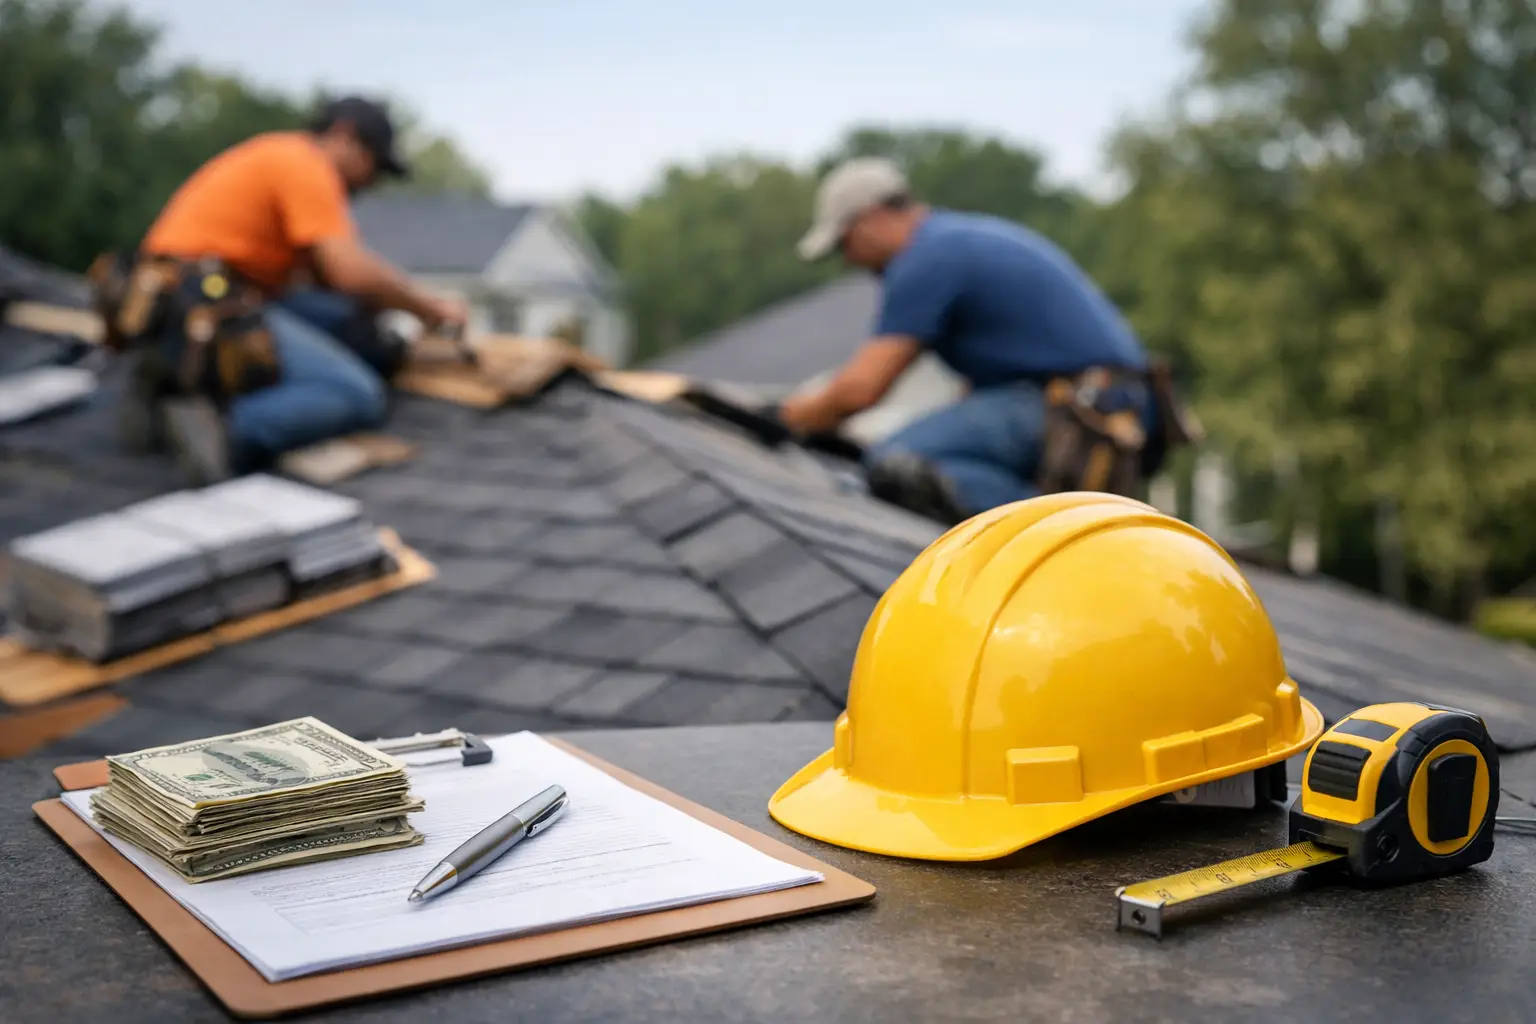
A clear quote should follow the survey. It should explain the scope of work, the materials to be used, whether old materials are being removed and disposed of, and any likely extras if hidden defects are found once the roof is opened up. Straightforward quoting matters because roofing problems often begin when the original price leaves out key parts of the job.
Preparing the site before work begins
Before installation starts, the site needs to be made safe and workable. Depending on the property, that may involve scaffolding, access towers, waste skips, and protective sheeting. For terraced and semi-detached homes, practical planning is especially important because work can affect shared boundaries, driveways, and neighbouring access.
This is also the point where timings are confirmed. A small domestic roof replacement may take only a few days in good conditions, while a larger roof or one with structural repairs can take longer. Weather is always a factor. Rain, high winds, and freezing conditions can slow progress or pause certain stages for safety and quality reasons.
Good contractors will explain this properly rather than making promises they cannot keep. Fast response matters, but roofing done right matters more.
Stripping off the old roof
Once the site is ready, the existing roofing materials are removed. On a pitched roof, that usually means taking off old tiles or slates, battens, and underlay. On flat roofs, it may involve lifting felt, membrane systems, or damaged decking depending on the condition underneath.
This is often the stage where hidden issues come to light. Water damage is not always visible from ground level, and long-term leaks can affect timber supports, insulation, and even masonry around the roofline. A reliable roofer will show you what has been found, explain what needs to be replaced, and keep the solution practical. Not every defect means a major rebuild, but ignoring damaged structural elements is a false economy.
For landlords and commercial property managers, this stage is especially important because it can reveal wider maintenance issues that would otherwise continue to affect the building.
Checking and repairing the roof structure
With the old covering removed, the roof deck or supporting timber structure is inspected properly. Rafters, joists, decking, and fascias all need to be sound before new materials go on. If the base is weak, even high-quality tiles or membranes will not perform as they should.
This part of the roof installation process is less visible once the job is finished, but it has a direct effect on lifespan. Replacing rotten battens, upgrading damaged decking, and correcting uneven sections helps the new roof sit correctly and drain properly. It also reduces the risk of future movement and water ingress.
Where needed, ventilation improvements can also be made at this stage. Poor airflow in the roof space contributes to condensation, damp, and timber decay. It is one of those problems that property owners often overlook until it becomes expensive.
Installing underlay, battens, and waterproofing layers
Before the final roof covering is fixed, the protective layers underneath need to be installed. On pitched roofs, this typically means breathable membrane and treated battens. These components help manage moisture, support the tile layout, and create the correct fixing points.
On flat roofs, the build-up may include insulation boards, vapour control layers, and the chosen waterproofing system. The exact order depends on the roof design and material. Felt, GRP fibreglass, and single-ply systems all have different installation methods, and each has its place depending on budget, expected foot traffic, and the complexity of the roof area.
This is a good example of where there is no single best option for every property. A homeowner may want a finish that suits the look of the house, while a commercial client may be more focused on durability, maintenance intervals, and long-term value.
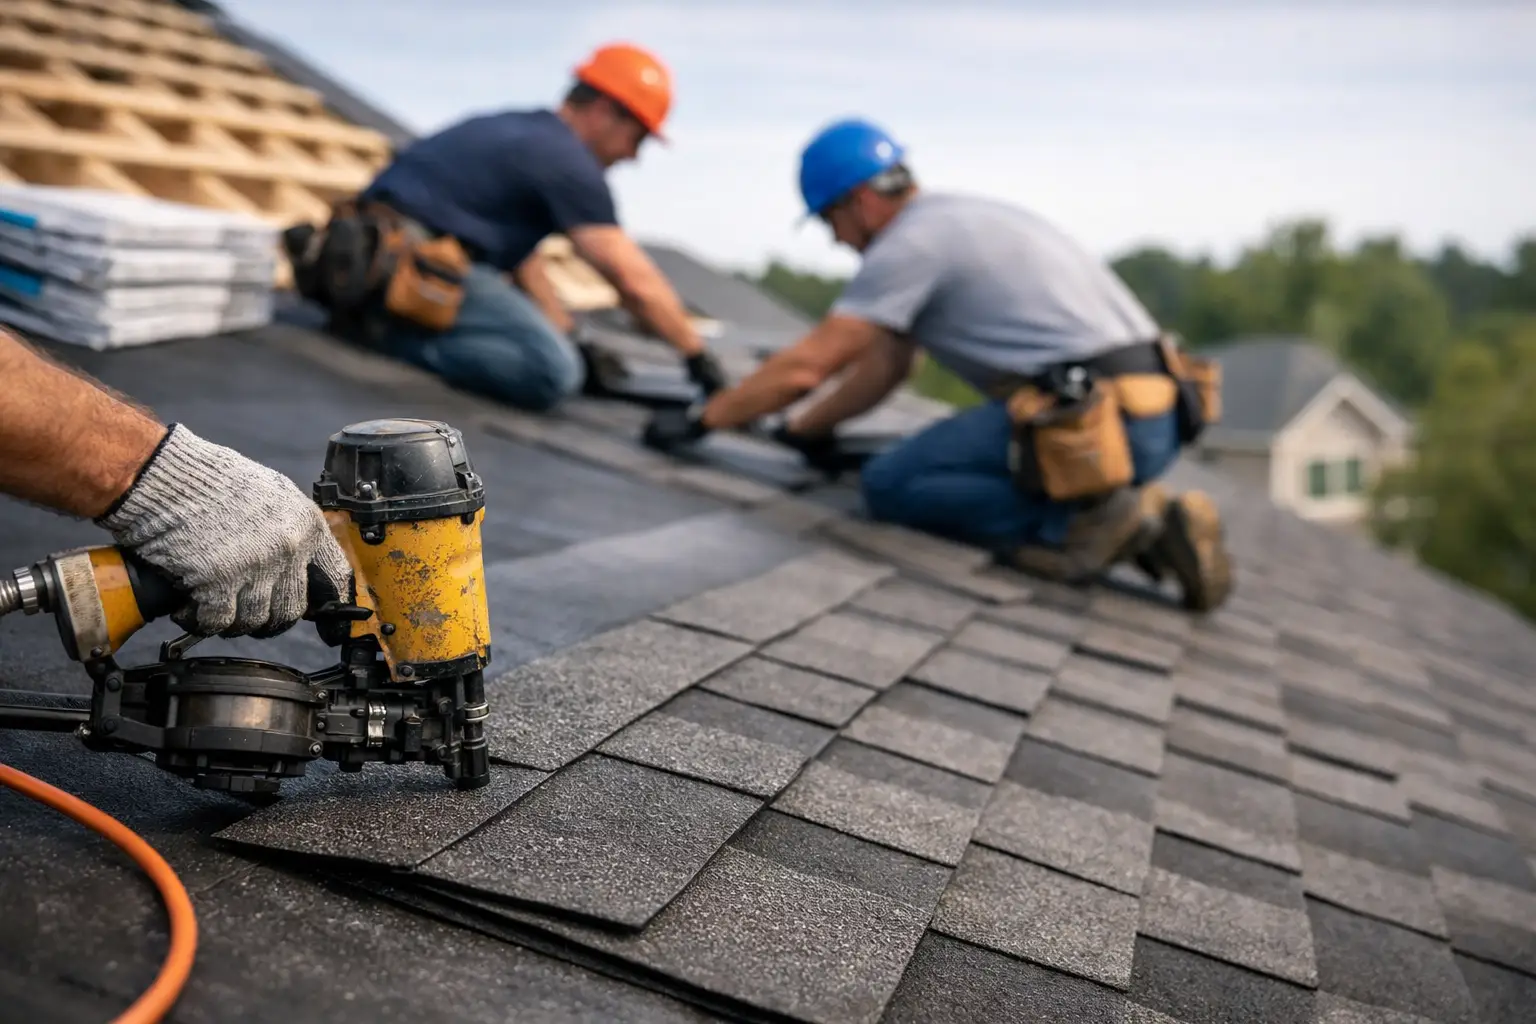
Fitting the main roof covering
Once the base is prepared, the visible roof covering is installed. For pitched roofs, that means laying tiles or slates in line, fixing them securely, and shaping details around valleys, hips, ridges, roof windows, vents, and chimneys. Accuracy matters here. Even a small problem with spacing or fixing can affect water run-off and resistance to wind uplift.
For flat roofs, the waterproof surface is applied and sealed with close attention to edges, joints, upstands, and drainage points. Flat roofs often get unfair criticism, but many failures come down to poor installation rather than the material itself. When the falls, outlets, and detailing are correct, a flat roof can provide very reliable service.
A skilled team will keep the work tidy and methodical. Roofing should not look improvised. Each stage should follow the previous one properly, without cutting corners to save time.
Leadwork, flashings, gutters, and roofline details
A roof is only as dependable as its weakest detail. That is why flashings, leadwork, fascias, soffits, and guttering deserve close attention during installation. These areas handle water movement and protect vulnerable junctions where leaks often start.
Chimney abutments, wall connections, parapets, and valleys all need careful finishing. If these details are poorly installed, water can get behind the main roof covering even when the tiles or membrane themselves are sound. The same applies to gutters and downpipes. If drainage is undersized, blocked, or wrongly aligned, water can back up and damage the roof edge and external walls.
For many properties, it makes sense to deal with roofline components at the same time as the new roof. It is usually more efficient, and it avoids having old, failing elements undermine a new installation.
Final checks and handover
The last stage is not just about packing up tools. A proper finish includes checking fixings, seals, ridges, edges, drainage flow, and overall appearance. Waste should be cleared, the site left safe, and the work explained clearly to the client.
This is also when any guarantees, material information, and maintenance advice should be provided. A new roof does not usually require heavy upkeep, but it does benefit from occasional inspections, especially after storms or during seasonal maintenance checks. Catching a slipped tile, blocked gutter, or damaged flashing early is always cheaper than waiting for a leak.
For clients who want a straightforward service, this handover matters almost as much as the build itself. Clear communication, proper documentation, and a roof that performs as promised are what turn a roofing job into a worthwhile investment.
What can affect the timeline and cost?
No two roofs are exactly the same. Size, shape, access, material choice, weather, and structural condition all influence how long the work takes and what it costs. A simple replacement on a modern house is usually more predictable than a roof on an older London property with chimney stacks, awkward access, and layers of previous repairs.
There is also a balance between short-term spend and long-term value. Cheaper materials or rushed installation may reduce the initial quote, but they often lead to earlier repairs and reduced lifespan. On the other hand, not every building needs the most expensive specification available. The right choice depends on the property, the exposure to weather, and how long you plan to hold the asset.
That is why a no-pressure survey and honest advice are worth more than a quick price given without context.
If you are planning roofing work, the best starting point is simple: ask for a proper inspection, expect a clear explanation, and choose a contractor who treats the roof as a full system rather than just a surface finish. That approach gives you a roof that not only looks right, but protects the property properly for years to come.